
October means Halloween Nails everywhere..
So I will stop the 31 day challenge during this whole month to make more of these spooky nails for you :)
Octubre significa Uñas de Halloween por todas partes..
Asi que parare el reto de 31 dias durante este mes para hacer mas de estas uñas escalofriantes para ustedes :)

And because nothing says Halloween more than cute pumpkins, here is my first design of this year..
The base color is "Hot Tamale" - Pure Ice.
It is a dark orange shade with gold shimmer.
The formula is a little bit thin, needs 3 coats to get it opaque.
Y porque nada dice Halloween mas que unas lindas calabazas, aqui esta mi primer diseño de este año..
El color base es "Hot Tamale" - Pure Ice.
Es un tono naranja oscuro con brillo en dorado.
La formula es un tanto aguada, necesita 3 capas para cubrir por completo.


For the pumpkin faces I used some vinyls... and these are holo vinyls 'o'
These are from Bundle Monster
Amazing to use as you can see I only used the 2 I needed.. Didn't mess it up this time xD
The black nail polish is "Onix" by Vogue Fantastic.
A good advice with these is to stick them a few times on the skin to remove the tackiness and make it peel off the nail easier.
What I did:
Painted my nails with the orange base and added topcoat.
Let it dry completely, I waited half an hour to be sure.
Placed the vinyl on the nail.
Painted inside with black nail polish and removed the vinyl right away.
I also sponged a little bit around the nail.
Let dry and applied topcoat.
If you follow me on IG you can see the tutorial there
Para la cara de calabaza use algunas plantillas.. Y estas son holograficas 'o'
Estas son de Bundle Monster
Muy fáciles de usar como pueden ver solo necesite las 2 que use.. No lo arruine esta vez xD
El esmalte negro es "Onix" de Vogue Fantastic.
Un buen consejo cuando se usan estas plantillas es pegarlas varias veces sobre la piel para hacerla menos pegajosas y así sea mas fácil de remover.
Lo que hice:
Pinte la uña con el color base y agregue topcoat.
Deje secar completamente, espere como media hora para estar segura.
Coloque la plantilla sobre la uña.
Pinte con esmalte negro y la removí de inmediato.
También le di unos toquecitos con esponja al rededor.
Deje secar y agregue el topcoat final.
Si me siguen en IG podrán ver el tutorial.


Since I sponged a little around the nail, I used Simply Peel from My Bliss Kiss to protect the skin around the nail..
There wasn't too much mess, but it's better than cleaning up =D
Ya que use la esponja para aplicar esmalte al rededor, use Simply Peel de My Bliss Kiss para proteger la piel al rededor.
Aunque no haya ensuciado mucho, es mejor que limpiar =D
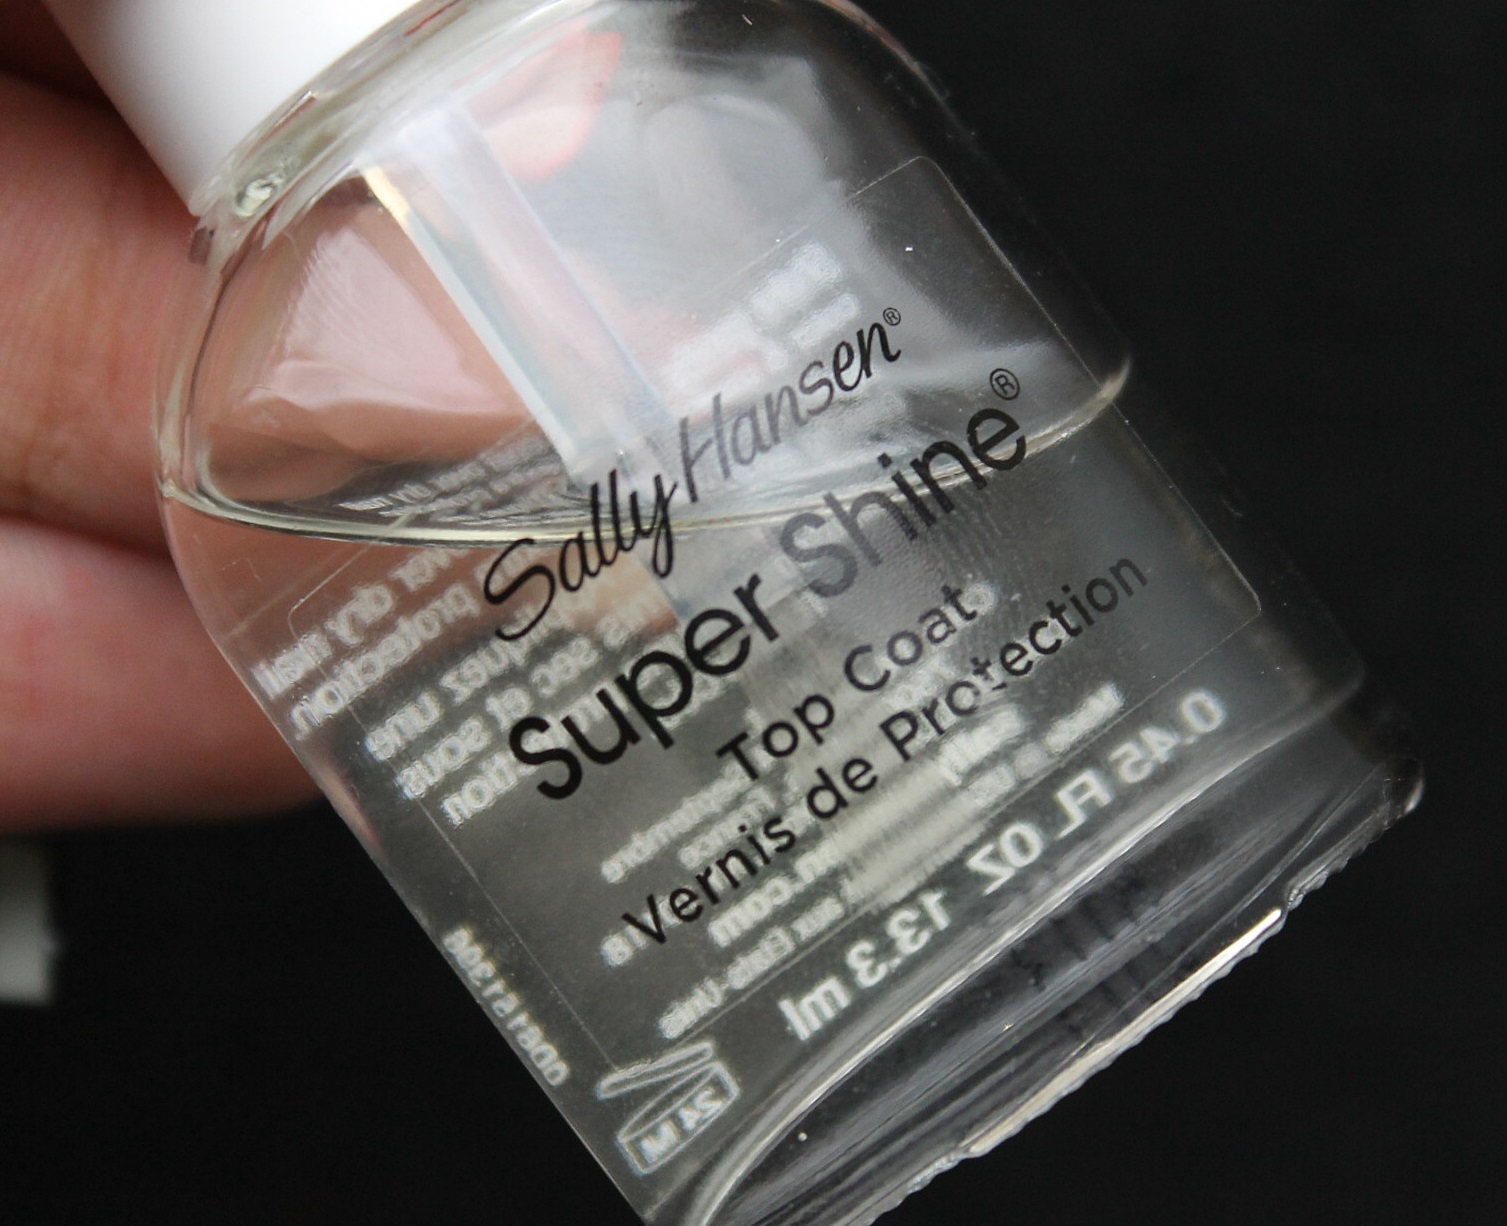
Topcoat
"Super Shine"
Sally Hansen


Close up..
These turned out better than I thought..
At the beginning they looked so simple, but I still think that looks super cute just like that, so I didn't have to add anything else
Estas me salieron mejor de lo que esperaba..
Al principio me parecían algo simple, pero aun así creo que se ve adorable, así que no le agregue mas nada.


Hope you like it
Have a great day
Espero les guste
Tengan un buen día
No hay comentarios.:
Publicar un comentario